[ad_1]
I had a specific need (more on that later) that could be satisfied with solutions such as QEMU (an open-source machine emulator that can do all sorts of interesting things) and KVM (an open-source hypervisor). But using these directly isn’t much fun due to the complexity of the tools, so there are a collection of management tools that run on top of them to simplify the experience.
One of the management tools that was recommended to me by a co-worker at Tanium is Proxmox VE, a management tool that uses a web interface for all interactions. And since Hyper-V supports nested virtualization (requiring Windows Server 2022 if you are using Windows Server with an AMD processor), it’s easy enough to install it as a VM on Hyper-V to try it out. Just download the latest ISO and use it to install in the VM.
After creating the VM, you need to enable nested virtualization, which can’t be done through Hyper-V Manager; you have drop into PowerShell to do that:

And since this is a Linux-based solution that isn’t signed for Secure Boot, you need to disable Secure Boot to enable Proxmox to boot:

Once that is done, you should be able to boot:

After pressing enter to start the installer, you can navigate through the installation settings, changing as you see fit. In my case, I configured the time zone:

The password and e-mail address for notifications:

The management network details (using a static IP on my internal network):

I took the defaults for everything else. After rebooting, you’re left with a pretty simple view:

But that’s not where you go for administration. Instead, you use a web-based UI, listening on port 8006:

It uses a self-signed cert, so you’ll need to bypass the browser warning to get to the web page. (After doing that once, you can import the cert from the page into the local Trusted Roots store so you don’t need to do that in the future.). You can sign in as user “root” with the password that you specified during the installation. After logging in, you will see this message:

While Proxmox VE is open source and therefore free, it does have a number of available subscriptions; click the link to get details about what’s available. But all the functionality will work fine even without a subscription, so it’s easy to try it out.
Now we’re ready to create a VM. To do that, right click on the node name (proxmox in my case) and choose “Create VM”:

Give the VM a name:

Configure the OS that you will be installing. Since I want to use PXE boot, I will specify that I don’t want to use media. (If I did want to use media, I would have to upload the ISO to the Proxmox server first.)

Since I’m going to install Windows 11, I need to specify UEFI and TPM. The VM needs a small amount of storage for each of those (to save the UEFI settings and the TPM contents), so you need to specify where to put the created files for each. You can also specify emulation specifics, but those can be changed later too (e.g. if you select something that isn’t supported by your OS or drivers).

You can accept the default for the disk (although you might want to make it bigger as it defaults to 32GB). You’ll want to specify at least two CPU cores to make Windows 11 happy (and to make the VM more responsive, using one core is awful, even on a fast CPU). I generally specify 4096MB for memory, and the defaults for network.
After you finish creating the VM, you can see its details:

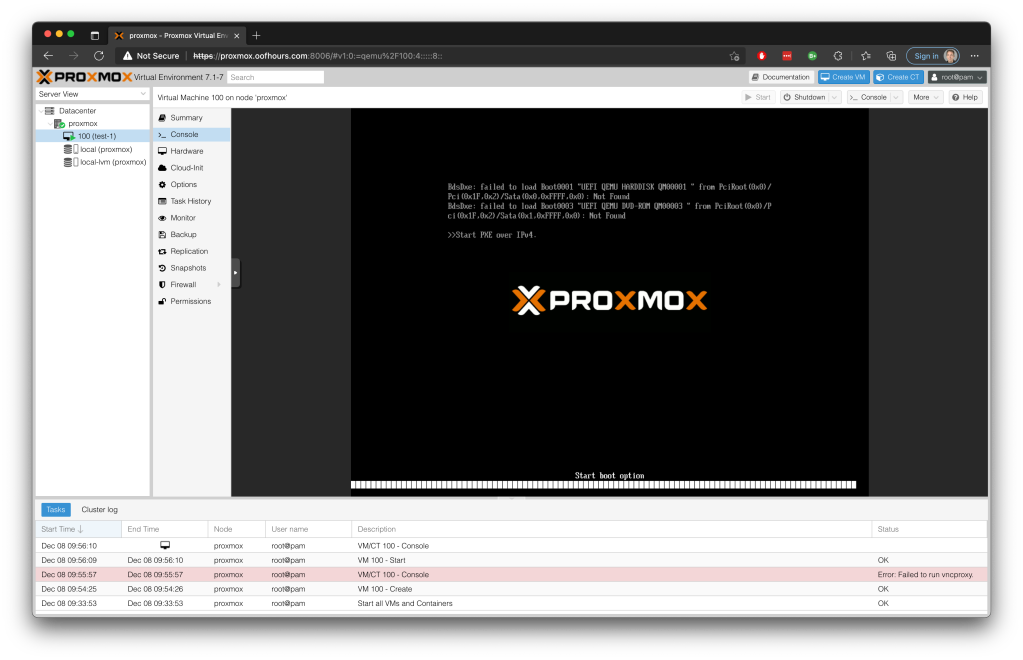
Click on “Console” and then click the “Start” button to start the VM. You should see the machine power on and then attempt to PXE boot:

But there’s one problem: the PXE boot will always time out. Fortunately, there’s a fix for that. Because Proxmox (and the underlying VM) is spoofing the MAC address on each VM, necessary to give each VM its own virtual network identity, you have to reconfigure the advanced features of the Proxmox Hyper-V VM to allow spoofing by checking the first box:

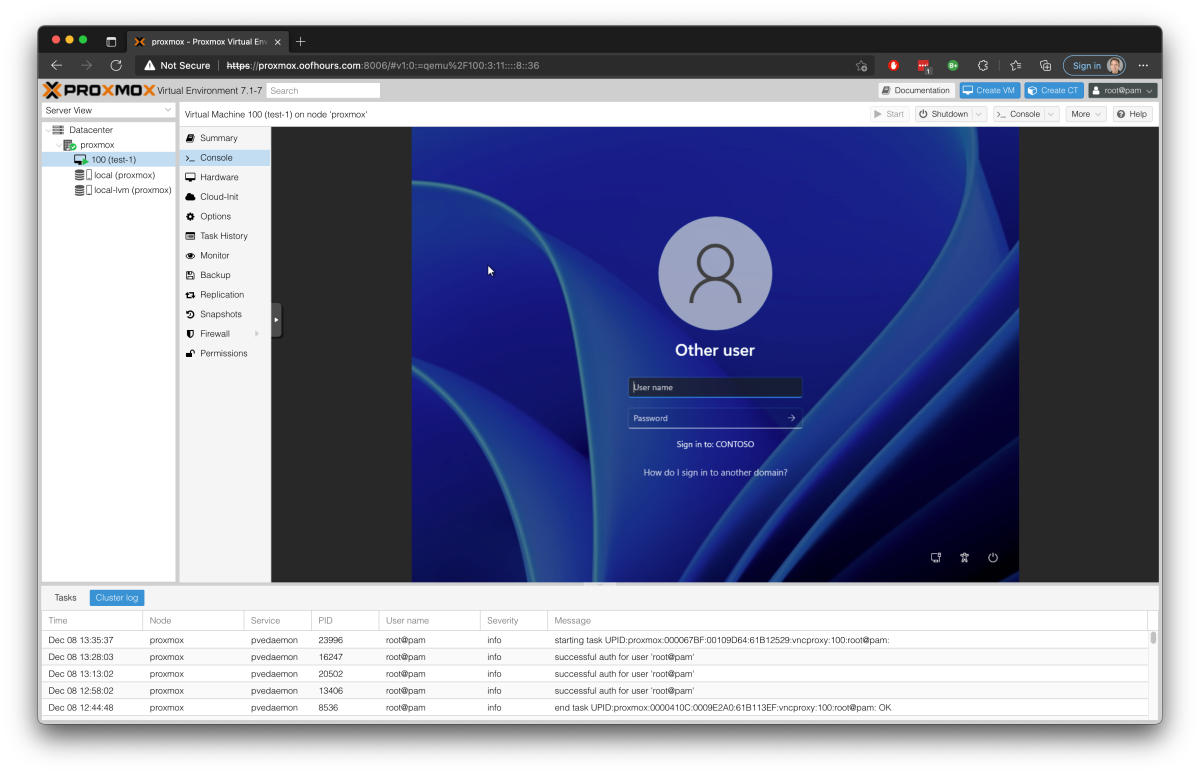
Once that is done, you’ll be able to successfully PXE boot. Depending on your boot image, OS image, etc., you might need to tweak the hardware settings (display adapters, storage adapters, network adapters). I ended up using this combination, which worked but wasn’t the speediest:

But it at least worked:

[ad_2]
Source link


