[ad_1]
2020-08-01 quick note: This blog post is resurrected from a December 2017 blog on the old blogs.technet.microsoft.com site (RIP), posted here with minimal edits.
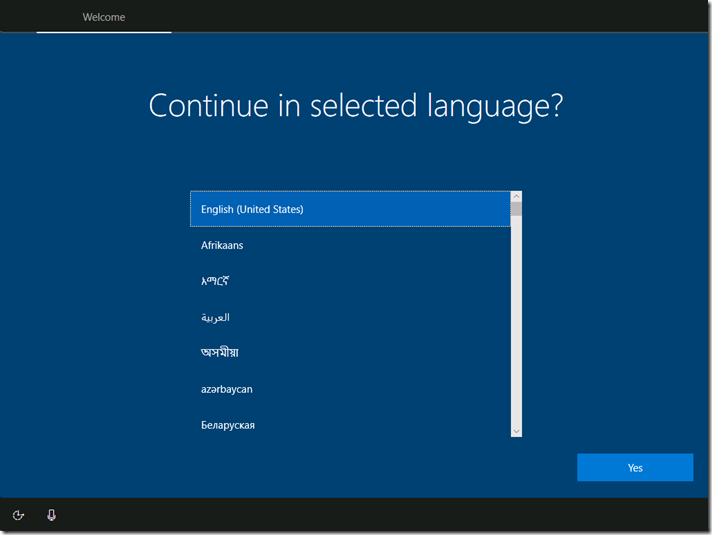
I’ve recorded a variety of videos (especially for Windows AutoPilot, but prior to that for other Windows deployment scenarios) that involve capturing the initial phases of a Hyper-V VM’s boot process. Normally, these default to a resolution like 1024×768, although they can be changed to a better resolution (e.g. 1366×768 or 1920×1080) manually after Windows has started up. The end result is a rather “square” image:

But what if you want the entire video to be fixed at a particular resolution? If you are running Hyper-V on Windows 10 or Windows Server 2016, there is an easy way to do this using the Set-VMVideo PowerShell cmdlet. First, let’s try switching to 1366×768:
PS C:> Set-VMVideo -VMName Demo -ResolutionType Single -HorizontalResolution 1366 -VerticalResolution 768
The result (effective the next time the VM starts up):

The “-ResolutionType Single” is required in this case to force the VM to a specific resolution by telling Windows that is the only supported video resolution. (And yes, OOBE does add black bars to left and right.)
You can also change to 1080p (1920×1080) the same way:
PS C:> Set-VMVideo -VMName Demo -ResolutionType Single -HorizontalResolution 1920 -VerticalResolution 1080
with this result (yes, more and bigger black bars from OOBE):

You may still see the VM start up with a smaller resolution and then switching to a higher resolution a second or two later. There’s no easy way around that, but if you set the VM to be full screen (e.g. using a 1080p monitor) and then capture a video from that monitor, you don’t notice the switching.
If you want to change the VM back to its original, default behavior, you can:
PS C:> Set-VMVideo -vmname Demo -ResolutionType Default
[ad_2]
Source link


